Wi-Fi setup for Windows 7
Information Technology Team > Wi-Fi connection service > Wi-Fi setup for Windows 7
| 日本語 |
SOS wireless LAN has been discontinued. This information is outdated.
1 Certificate installation
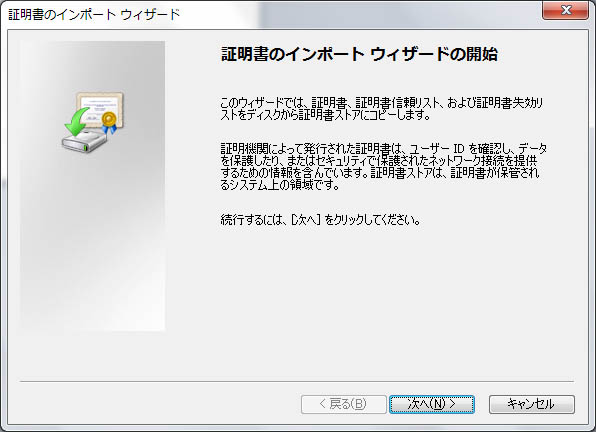
- Double-click the downloaded certificate to start the Certificate Import Wizard. Click [Next].
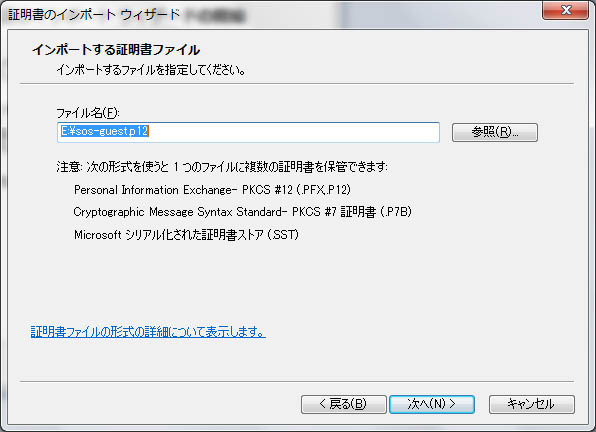
- The certificate file to import is pre-selected. Click [Next].
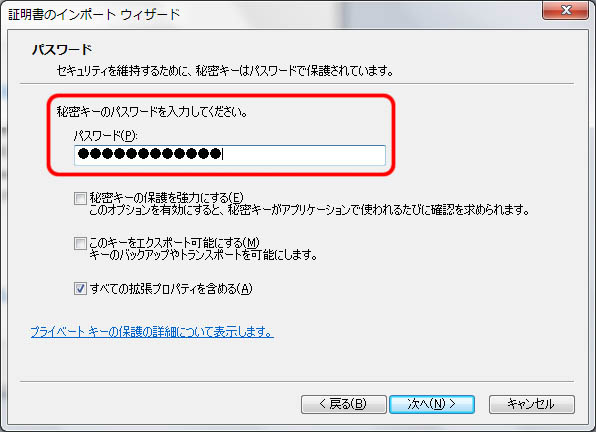
- Enter the authentication system login password in the “Password” field. Then, click [Next].
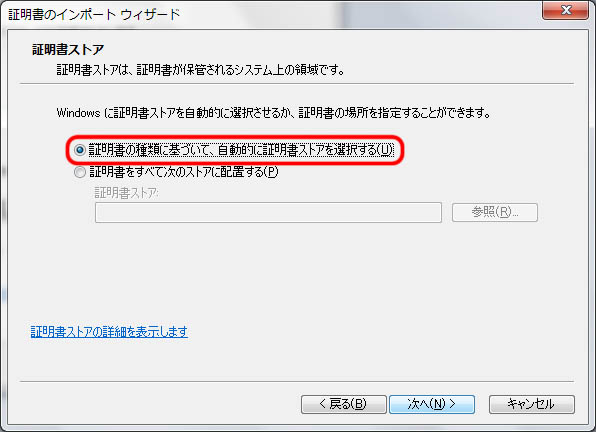
- After making sure that “Automatically select the certificate store based on the type of certificate” is selected, click [Next].
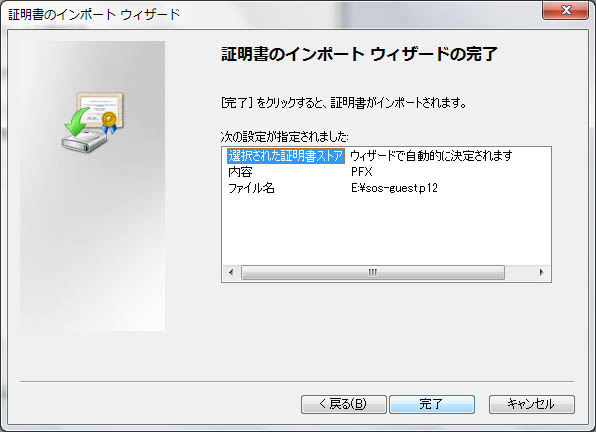
- Click [Finish] to close the Certificate Import Wizard.
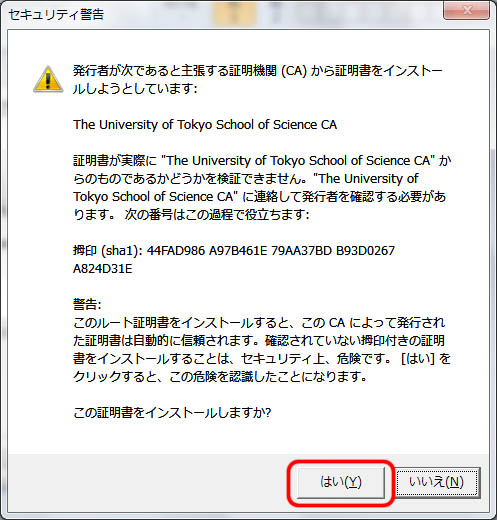
- Click [Yes] to the security warning.
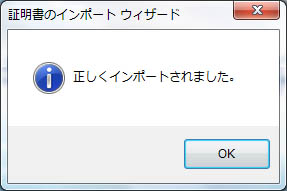
- Click [OK].
2 Connection to Wi-Fi network
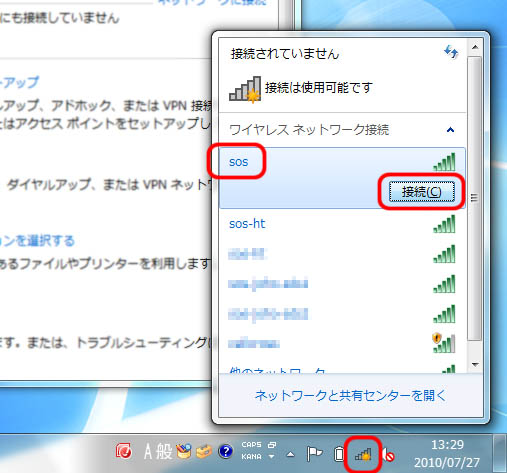
- Click the wireless network connection icon at the bottom right of the screen to open the list of wireless networks.
- Select “sos” and click [Connect].
3 Troubleshooting
- If the device cannot connect to the Wi-Fi network after the above process is completed, see the page Manual Wi-Fi setup for Windows 7 to configure the network connection manually.
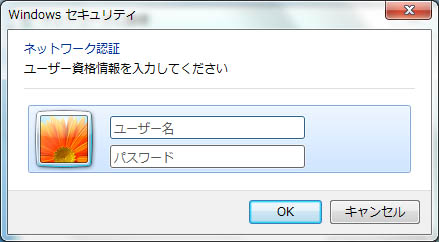
- If the user name and password are required upon network authentication, configure the connection manually in the same manner (the setup may be incorrect).
